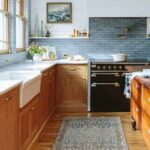
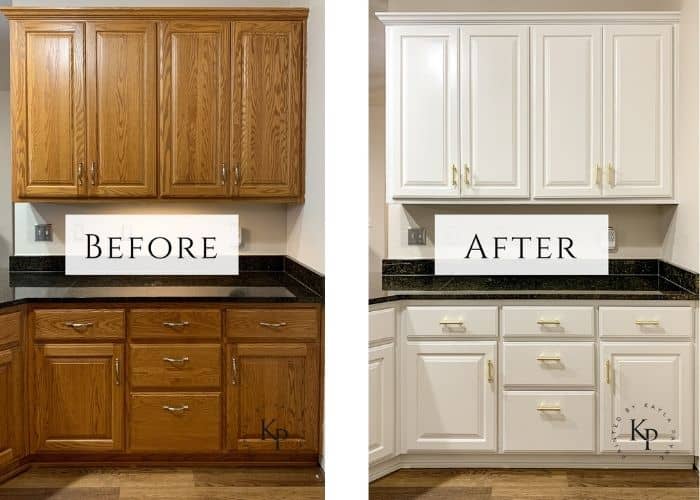
Are your wood kitchen cabinets looking tired or outdated? You don’t need to spend a fortune on a full remodel to give your kitchen a fresh, beautiful look.
Painting your wood cabinets yourself can completely transform your space and add value to your home. But how do you get a smooth, lasting finish without frustration? This guide will walk you through each step, from prepping and sanding to choosing the right paint and applying it like a pro.
Whether you’re a beginner or looking to sharpen your skills, you’ll discover simple tips and tricks that make the process easier and more rewarding. Ready to bring new life to your kitchen? Let’s get started!
Choosing Paint And Tools
Water-based paint dries quickly and cleans easily with soap and water. It has less odor and is good for most kitchen cabinets. Oil-based paint lasts longer and gives a smooth, hard finish. But it takes longer to dry and needs mineral spirits for cleanup.
Choosing the right tool helps get a smooth look. Brushes are best for edges and detailed areas. Rollers cover flat surfaces quickly and leave a smooth finish. Paint sprayers give the best even coat but need practice and careful masking.
| Primer Type | Use | Benefits |
|---|---|---|
| Oil-Based Primer | For tough stains and wood knots | Blocks stains well, strong adhesion |
| Water-Based Primer | For general use and easy cleanup | Fast drying, low odor |
| Bonding Primer | For glossy or laminate surfaces | Helps paint stick to smooth surfaces |
Preparing Cabinets
Start by carefully removing cabinet doors and hardware. Place screws and hinges in labeled bags to avoid confusion later. This step makes painting easier and cleaner.
Next, clean and degrease all surfaces using a mild detergent or a kitchen cleaner. This removes dirt, grease, and grime that prevent paint from sticking well. Dry the cabinets fully before moving on.
Use medium-grit sandpaper to sand the wood surfaces. Sanding creates a rough texture that helps the paint adhere better. Make sure to sand evenly and wipe off dust with a damp cloth afterward.
Inspect the wood for cracks or holes. Use wood filler to fill and repair any damage. Let it dry completely, then sand smooth. This ensures a flawless, smooth finish when painting.
Priming Cabinets
Start by applying a thin, even coat of primer on the cabinets. Use a high-quality brush or roller for smooth coverage. Make sure to cover all edges and corners well.
Let the primer dry completely. Drying usually takes about 1 to 2 hours but check the primer label for exact time.
After drying, gently sand the surface with fine-grit sandpaper (220 grit). This step helps create a smooth base for the paint.
Remove all sanding dust with a clean, dry cloth or tack cloth. A clean surface ensures better paint adhesion.
Painting Process
Start by applying the first paint coat evenly. Use a high-quality brush or roller. Let the paint dry completely before the next step. Drying time depends on the paint type and room temperature.
Sanding between coats is very important. Use fine-grit sandpaper to smooth the surface gently. This helps the next coat stick better. Remove all dust with a clean cloth before painting again.
Apply the second and final paint coat carefully. Make sure it covers all spots evenly. Let it dry fully to protect the wood. This coat gives the cabinets a smooth, lasting finish.
Finishing Touches
Carefully reattach all hardware and doors after the paint fully dries. Tighten screws gently to avoid cracking the paint. Check each hinge and handle for secure fit.
Use a small brush to fix touch ups and corrections on any spots missed or uneven areas. Light sanding before repainting helps smooth rough patches. Take your time for a clean finish.
| Protective Topcoat | Benefits | Notes |
|---|---|---|
| Polyurethane | Strong protection, durable finish | Use water-based for less odor |
| Polycrylic | Clear finish, easy to apply | Best for light colors |
| Wax | Soft sheen, adds moisture barrier | Needs regular reapplication |
Maintenance Tips
Use a soft cloth with mild soap and water for cleaning painted cabinets. Avoid harsh cleaners that can damage the paint. Wipe spills quickly to prevent stains.
Protect cabinets from chips and scratches by using gentle handles and knobs. Avoid leaning or placing heavy objects on cabinet doors. Use felt pads under items to reduce scratches.
Touch up small chips with matching paint to keep cabinets looking fresh. Regularly inspect for damage to fix problems early. These simple steps help maintain the beauty of painted wood cabinets for years.
Common Mistakes To Avoid
Skipping prep work can cause paint to peel or chip quickly. Always clean and sand the cabinets before painting. This helps the paint stick better and last longer.
Using the wrong paint type wastes time and money. Choose paint made for wood cabinets, like acrylic or enamel paints. Avoid regular wall paint because it may not hold up well.
Rushing drying times leads to a sticky, uneven finish. Wait at least 24 hours between coats. This gives the paint time to harden and look smooth.
Frequently Asked Questions
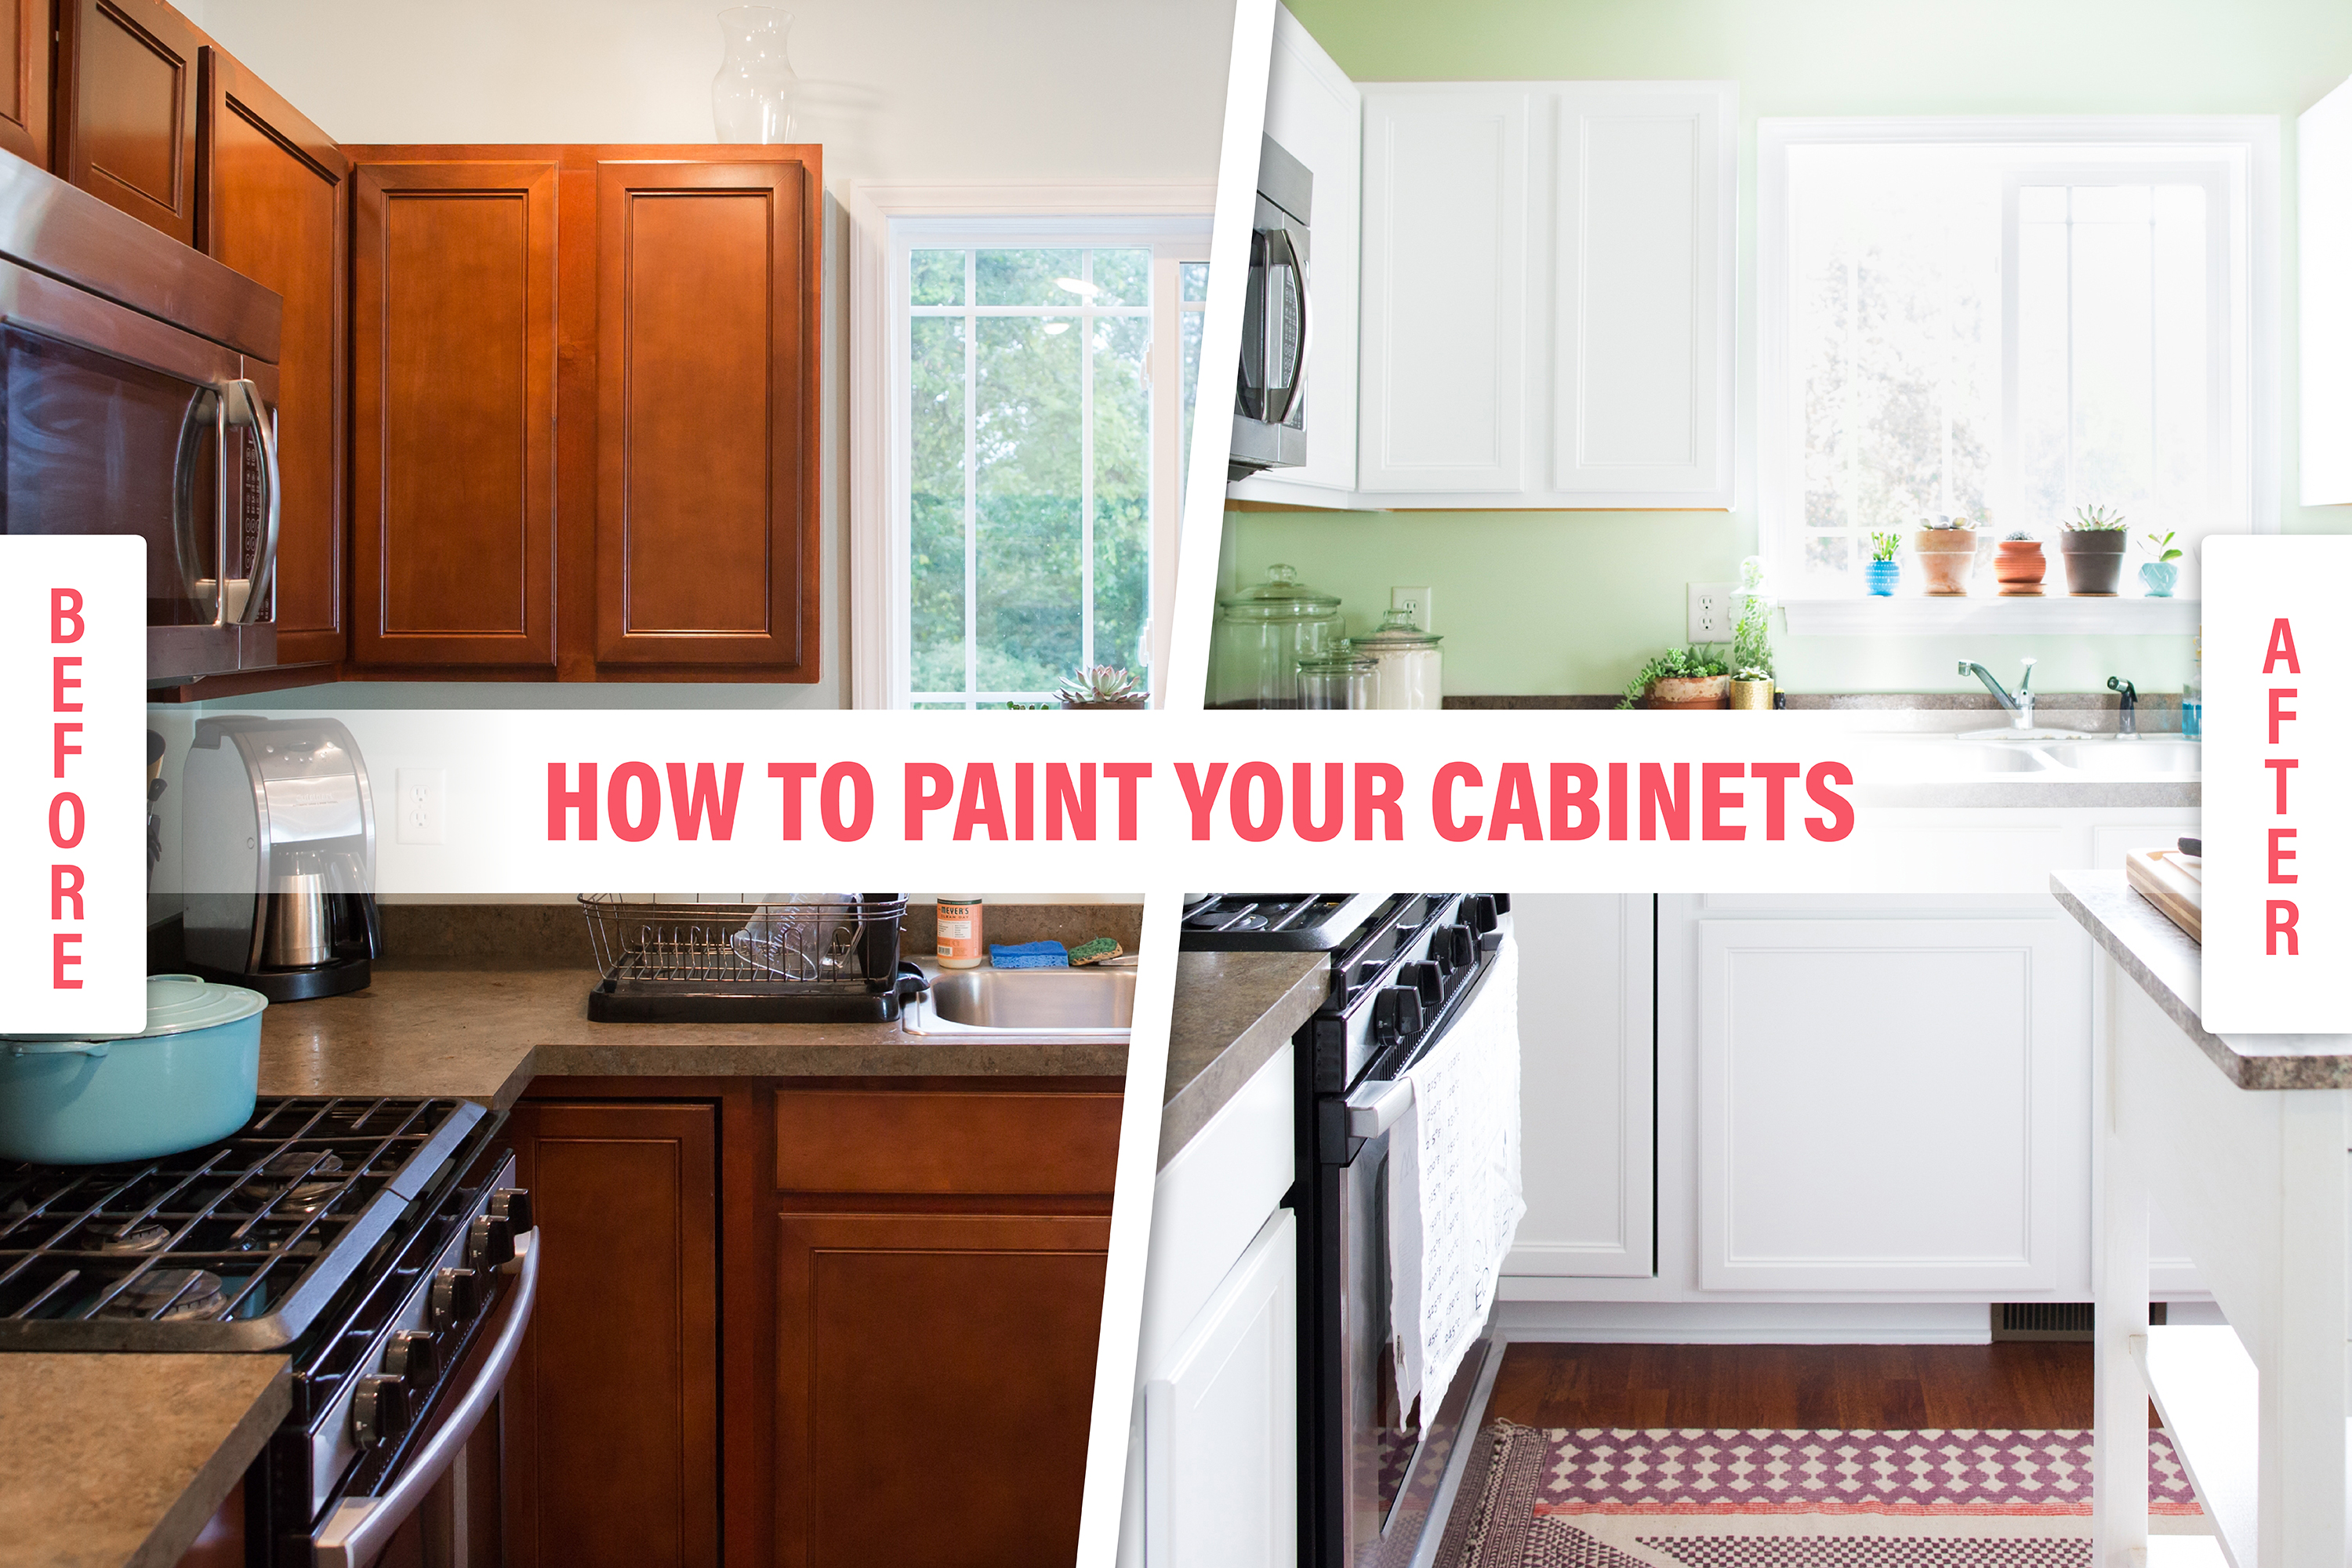
Can You Just Paint Over Wood Cabinets?
Yes, you can paint over wood cabinets. Clean, sand lightly, and apply a suitable primer for best results.
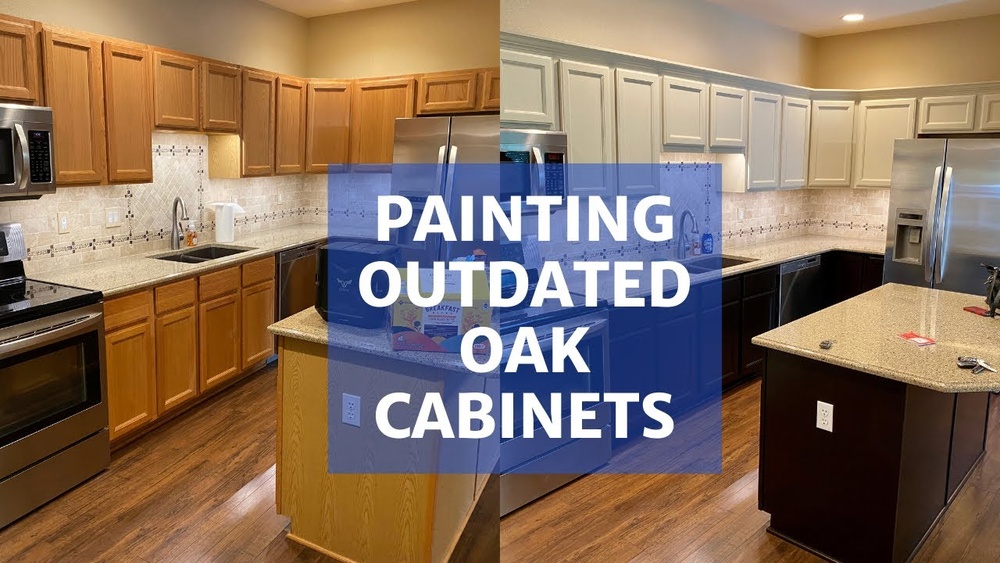
Is Painting Wood Kitchen Cabinets A Good Idea?
Painting wood kitchen cabinets refreshes their look and saves money. It requires proper prep to avoid chips and wear.
Is It Better To Brush Or Roll Paint On Kitchen Cabinets?
Rolling paint on kitchen cabinets applies a smooth, even coat quickly. Brushing helps reach detailed areas and edges. Use both for best results and a professional finish.
Can I Paint My Wood Cabinets Without Sanding?
Yes, you can paint wood cabinets without sanding by cleaning them thoroughly and applying a liquid deglosser before painting.
Conclusion
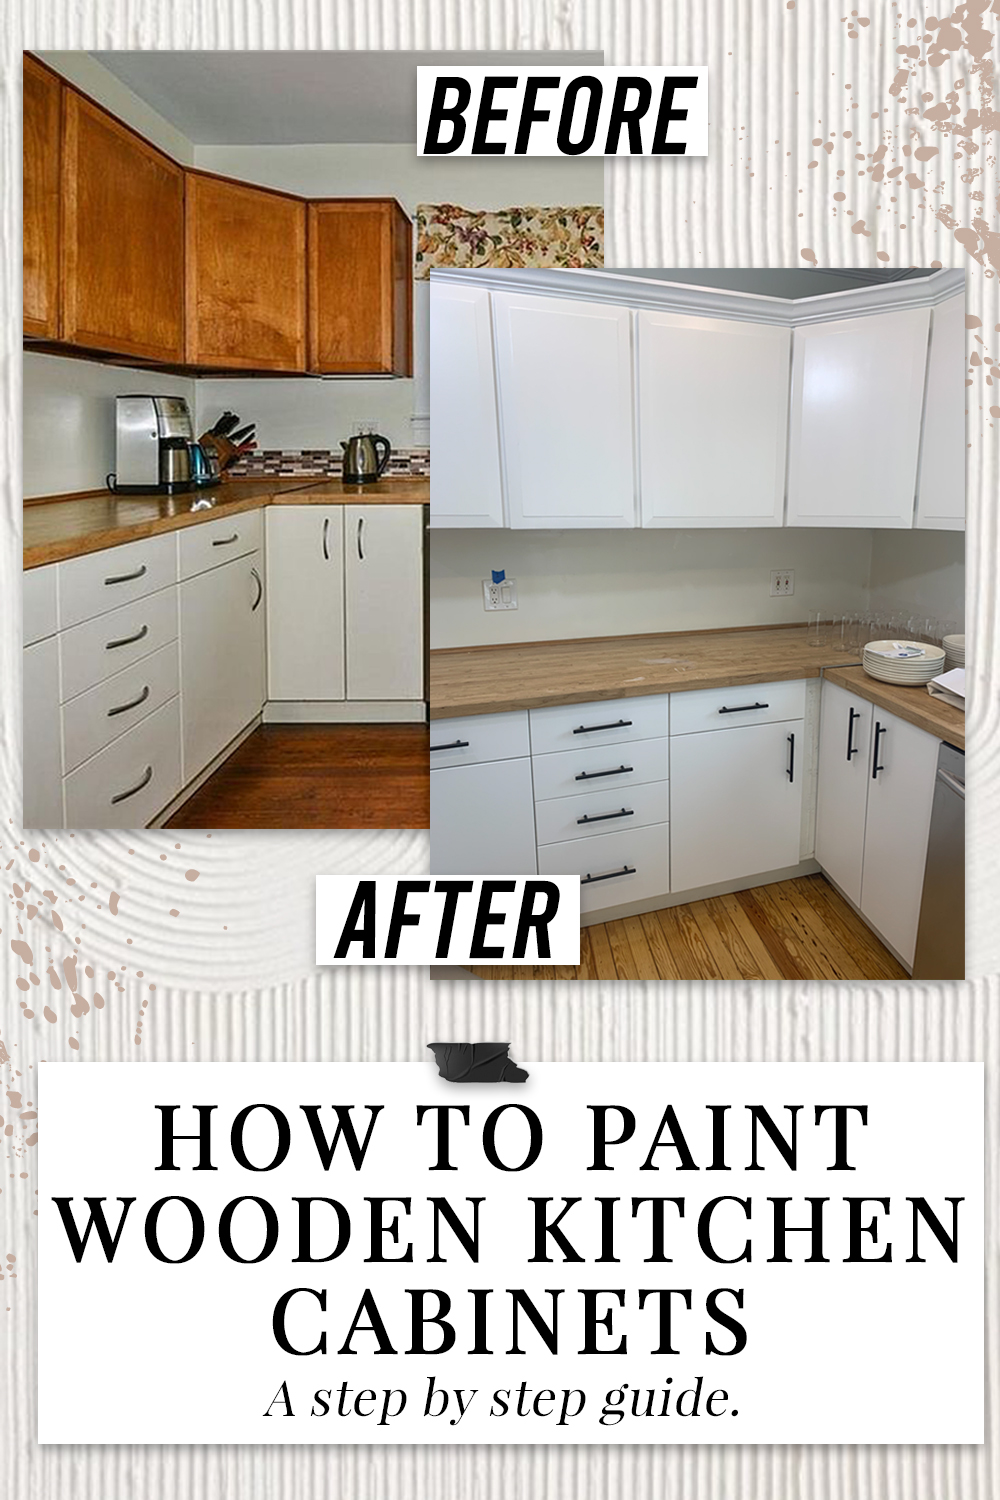
Painting wood kitchen cabinets can refresh your kitchen’s look quickly. Proper prep, sanding, and priming help paint stick well. Choose quality paint for a smooth, lasting finish. Take your time between coats for best results. Clean tools and work carefully to avoid drips or uneven spots.
A well-painted cabinet brightens your space and adds value. Enjoy the satisfaction of a DIY project done right. Keep these simple steps in mind for a successful cabinet makeover.

Yes, working as , Food Blogger and Product Reviewer for last 6 years. Here you will get amazing deals for Smart kitchen products. I am your best source for the latest update in cooking trends. I provide insightful articles, reviews, and analysis on cutting-edge kitchen gadget. My mission is to empower readers with the knowledge they need to stay ahead in a rapidly evolving coking world. Join me as we explore the future of food technology and how it shapes our lives today and tomorrow.